When I replaced my doorbell button earlier this summer, I assumed I was done with all doorbell-related tasks for the remainder of my time in this house. But guess what? Not so much. I took the cover off my doorbell chime when I was painting my hallway and the cleaning lady threw it out. I know, I know. It’s time for me to replace this particular cleaning lady. But I’m moving soon! Why deal with the conflict when I can just leave town without hurting her feelings?
Regardless of why the doorbell needed replacing, I needed to replace it.
And the good news for you is that it only takes about five minutes! I’m trying to share more easy DIY repairs on here because my friends have told me that they really appreciate the instructions. We’re in our mid-thirties and a lot of them are new to home ownership (I bought my first condo right out of college so this is all old hat to me). I’m sure one of my girlfriends will need to know how to replace a doorbell down the line, so I figured I’d go ahead and share the instructions here.
Fair warning: this is so easy you’ll question whether it will count as a blog post.
Why would you need to replace a doorbell if it wasn’t broken or missing a cover? I know I’m pretty partial to silly doorbells that allow you to program different songs. My parents have one of these and I used to pick out melodies on the piano and try to convert that to doorbell code. What can I say? I’m a nerd.
The other reason you might want to replace your doorbell is because you want something more decorative. My doorbell is in a back hallway, so a plain box seemed right for me. But if yours is in a more visible location you might want something that blends more seamlessly with your decor.
Before you start any wiring project, make sure you disconnect power at the circuit breaker!!! Do you know which circuit it is? If yes, great! If not, just turn everything off, man. A new doorbell is not worth electrocuting yourself over!!!

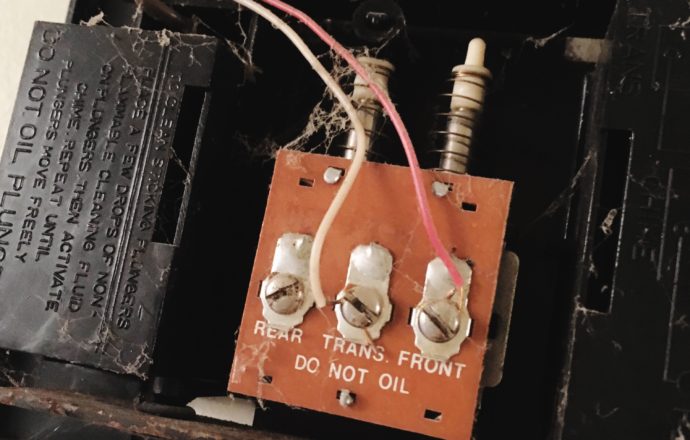
Once you are sure your doorbell power is off, remove the cover to the doorbell. You should see three connections: one for the transformer (trans here), one for the front door button (front), and one for the rear doorbell (rear). As you can see here, there is no wire connected to the rear connector. This is for a very simple reason: I do not have a doorbell at my back door.
Editor’s note: my new life goal is to have a doorbell button at my back door. Why would I need that? Obviously you’d only need that if you were so fancy that you didn’t want “the help” using the front door. It seems so amazingly fancy.
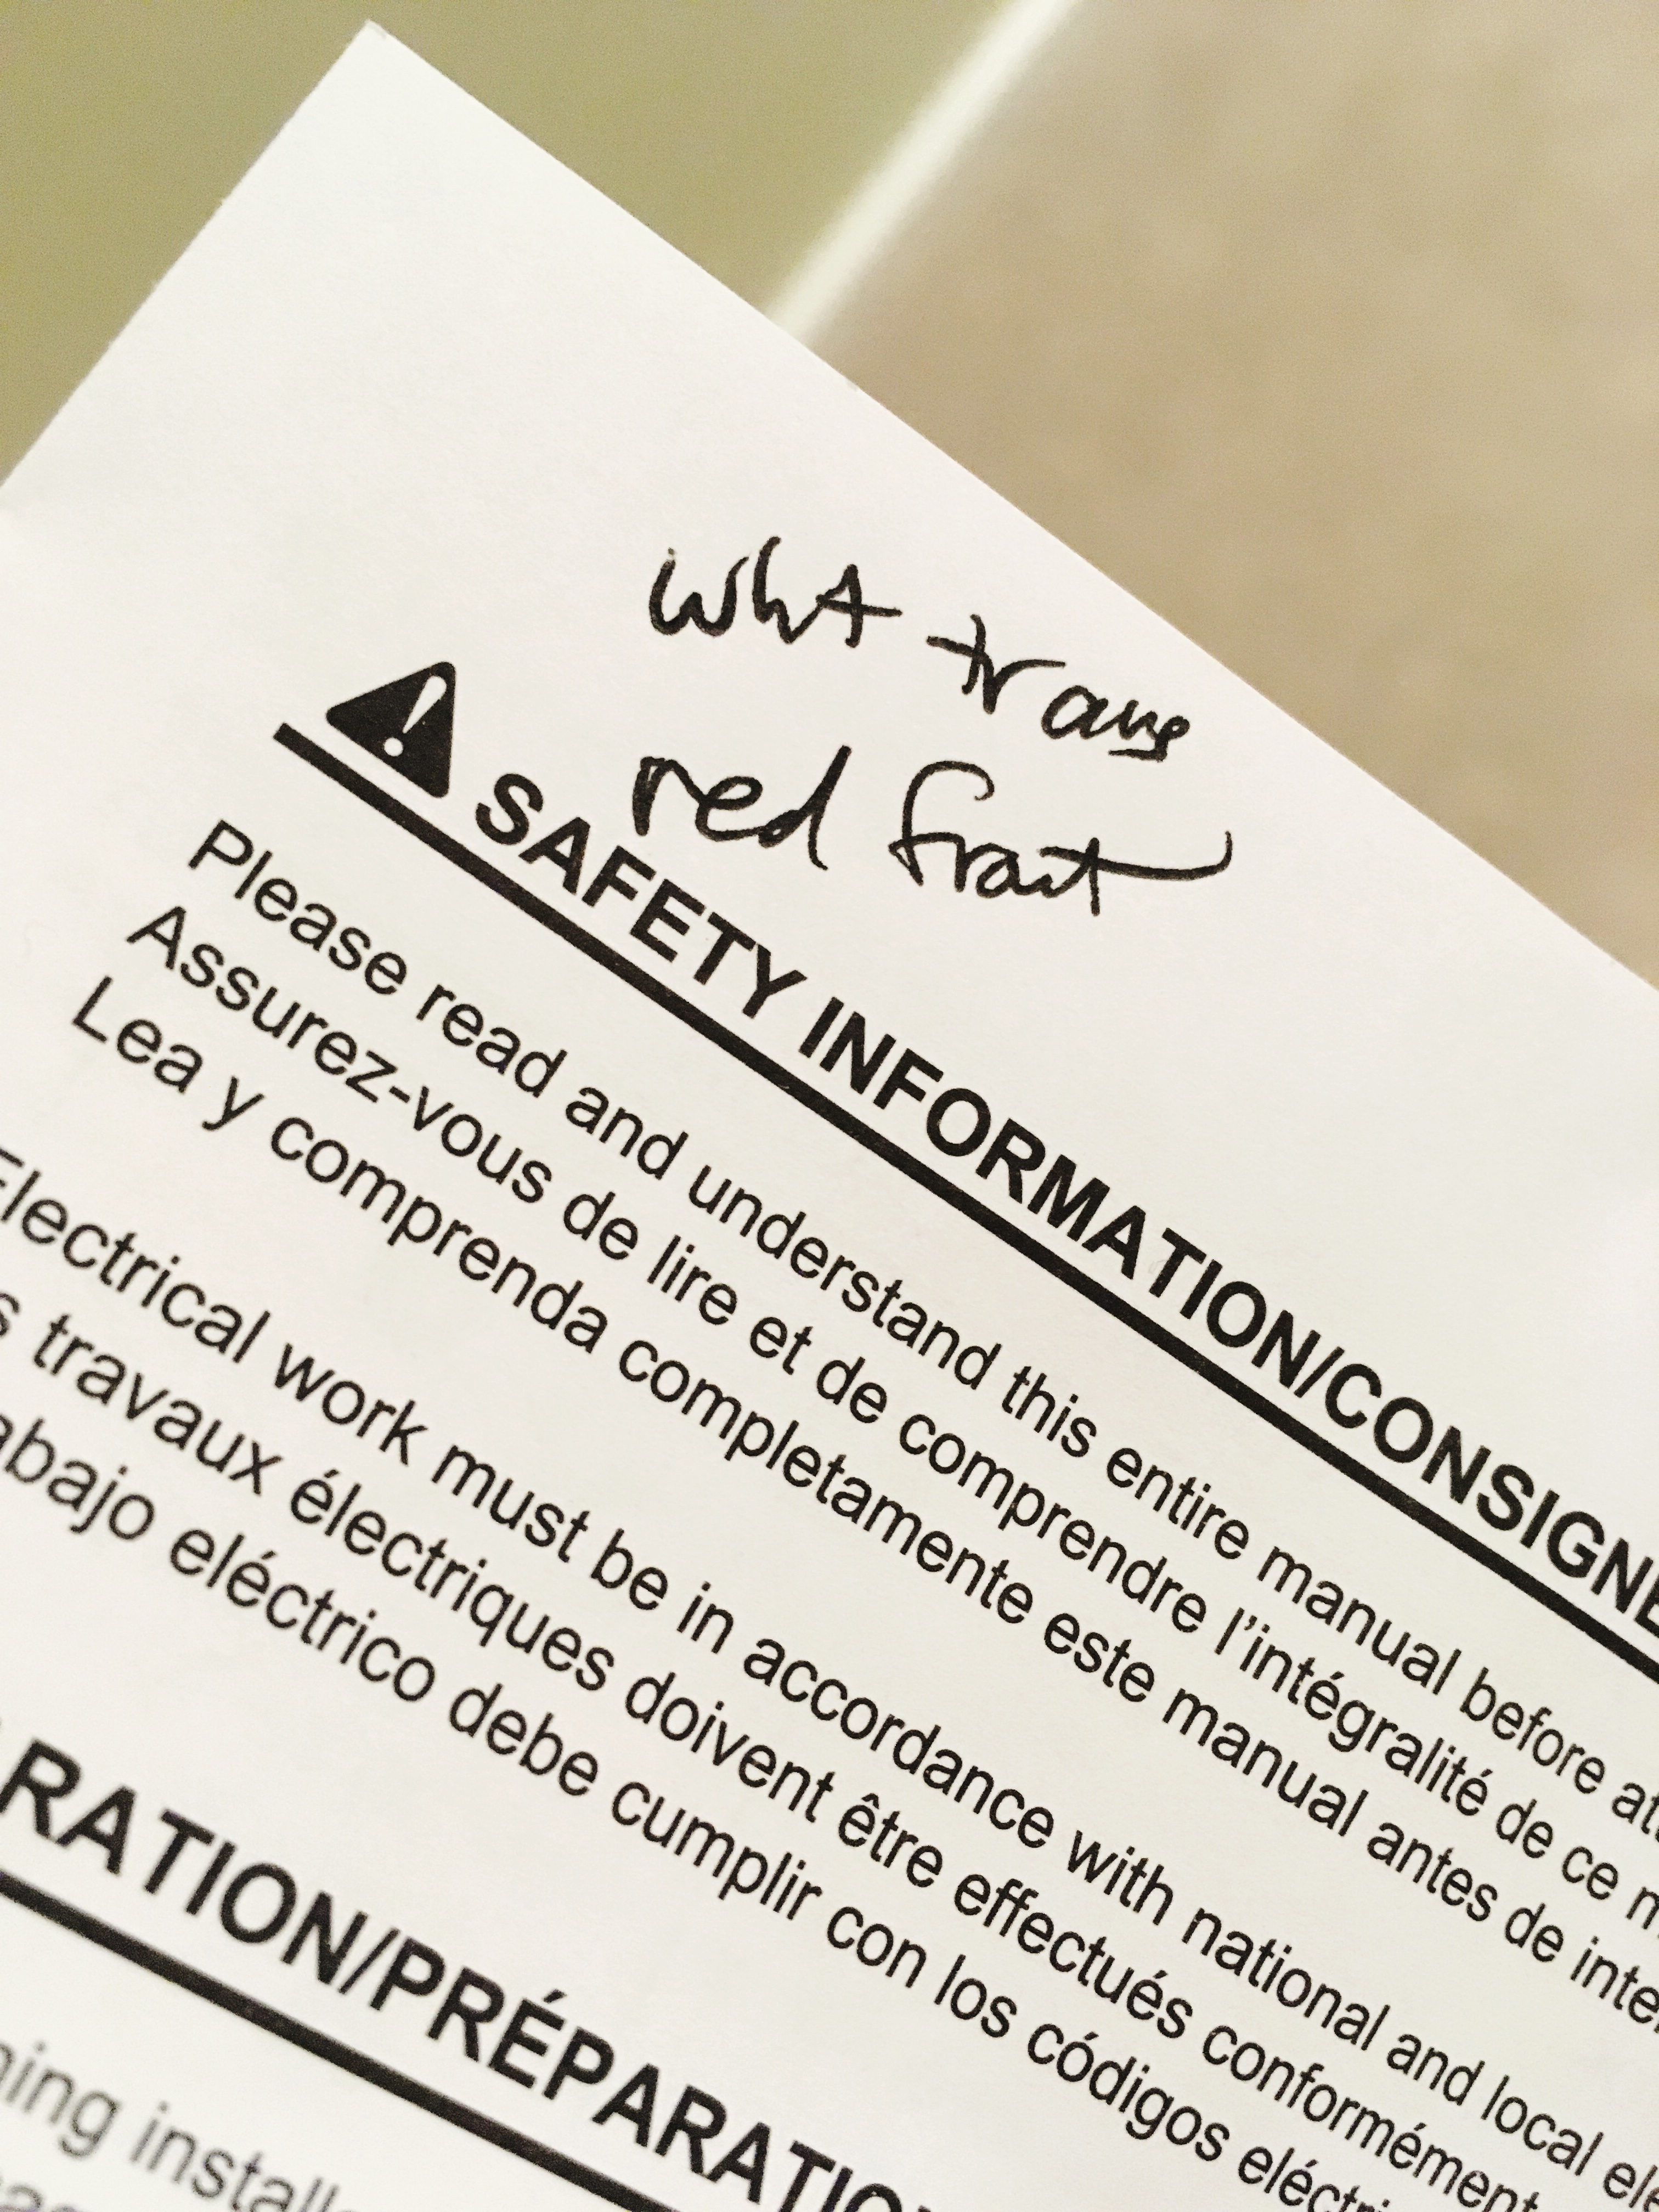
Have we discussed my penmanship? It’s rough, guys. But it got the job done.
Next, you’ll need to label your wires. Sure, you could do that. But are your wires different colors? If so, getting out masking tape and trying to label those little wires is a pain in the butt. You can just write down which wire is which on whatever scrap of paper you have around. Another benefit of writing this down instead of labeling the wires is that it makes the next step easier.
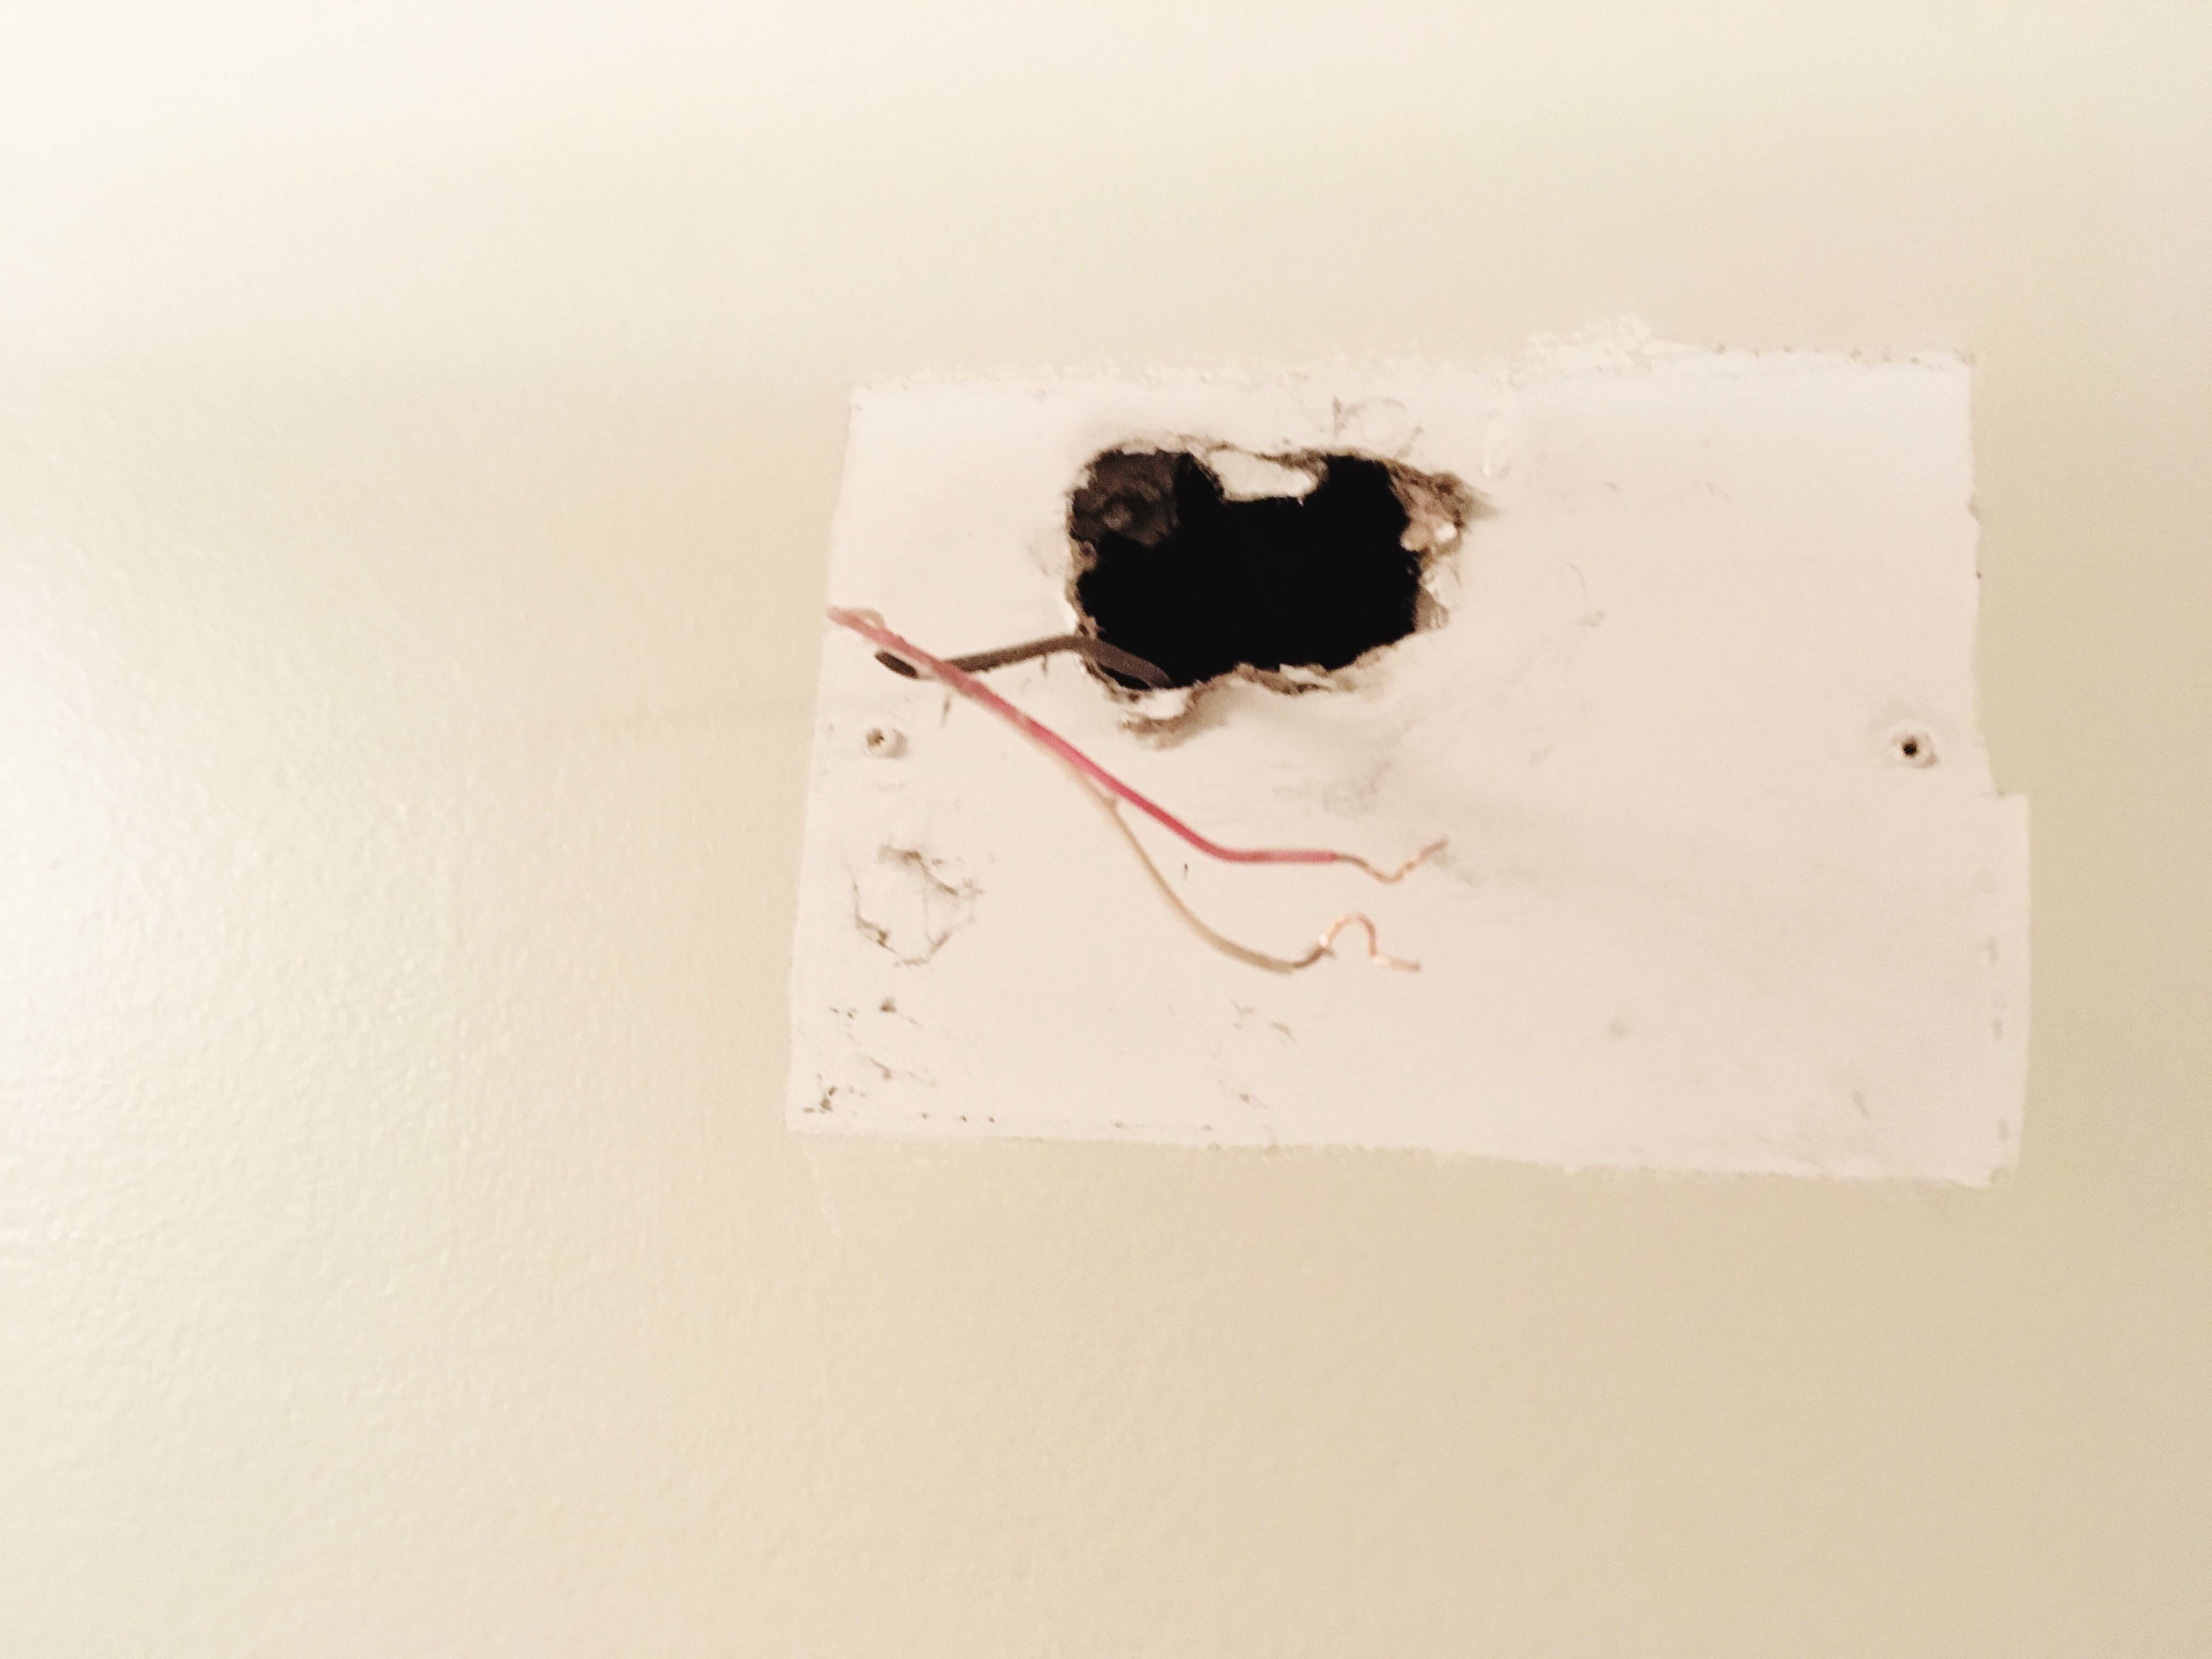 You need to unscrew any screws holding your doorbell to the wall. Next, you’re going to pull the doorbell off the wall, feeding the wires through the hole in the doorbell.
Now we have reached the point where I forgot to take more pictures.
But don’t worry! It’s so easy! All you have to do is take your new doorbell and reverse the process!
Here are the steps you’ve completed so far:
- Turn off power at circuit breaker.
- Remove cover.
- Disconnect the wires from the doorbell.
- Unscrew the screws holding the doorbell onto the wall.
- Pull doorbell off the wall, feeding the wires through the hole.
So let’s reverse that with the new doorbell!
5. Feed the wires through the hole in your new doorbell and push the doorbell into place.
4. Screw the doorbell to the wall (if you are installing a heavy doorbell or just know that you’re likely to knock the doorbell, you might want to use some sort of anchors)
3. Connect the wires to the new doorbell, referring to the note you made jotting down which wire was which.
2. Put on the cover.
- Turn the power back on at the circuit breaker.
And that’s it! You have a new doorbell!